Acoustic Panels - DIY: Difference between revisions
No edit summary |
No edit summary |
||
| Line 28: | Line 28: | ||
<br> | <br> | ||
==Box== | |||
These are the basic steps to making the box: | These are the basic steps to making the box: | ||
*cut the 1x4 wood to-length | *cut the 1x4 wood to-length | ||
*join the 1x4 lengths to make a box | *join the 1x4 lengths to make a box | ||
*attach the pegboard back | *attach the pegboard back | ||
===Cut Wood=== | |||
Because I am cheap :-) cutting the wood took a moment of thought: how to make a box that fits onto the pre-cut 2' x 4' pegboard, from 8' lengths of 1x4? These cuts work, if we assemble the wood so that one face overlaps one end, all the way around (sort of like a dog chasing it's tail): | Because I am cheap :-) cutting the wood took a moment of thought: how to make a box that fits onto the pre-cut 2' x 4' pegboard, from 8' lengths of 1x4? These cuts work, if we assemble the wood so that one face overlaps one end, all the way around (sort of like a dog chasing it's tail): | ||
Cut end-board to 23-3/4" long (2 per sound-panel) | Cut end-board to 23-3/4" long (2 per sound-panel) | ||
| Line 44: | Line 44: | ||
<br> | <br> | ||
===Join Wood=== | |||
You could use screws, you could use a Kreg jig, you could probably use blocking inside the corners of your boxes, but I chose to use biscuits and a biscuit-joiner for each corner. To do this: | You could use screws, you could use a Kreg jig, you could probably use blocking inside the corners of your boxes, but I chose to use biscuits and a biscuit-joiner for each corner. To do this: | ||
*use your biscuit-joiner to make a pocket in '''one''' end (one end only!!!) of every long (side) board, and every short (end) board. This is pretty straightforward, because your biscuit-joiner is is intended to slide on the face of a board, and make a pocket on the edge. The face you place up (for the joiner to ride on) will become the inside face when you assemble the box. The exact depth of your joiner really doesn't matter, except that it remain the same depth for the next step. You should probably mark which face has now become the inside, so you corners will be nice and flush. | *use your biscuit-joiner to make a pocket in '''one''' end (one end only!!!) of every long (side) board, and every short (end) board. This is pretty straightforward, because your biscuit-joiner is is intended to slide on the face of a board, and make a pocket on the edge. The face you place up (for the joiner to ride on) will become the inside face when you assemble the box. The exact depth of your joiner really doesn't matter, except that it remain the same depth for the next step. You should probably mark which face has now become the inside, so you corners will be nice and flush. | ||
| Line 69: | Line 69: | ||
<br> | <br> | ||
[[Image:Bradnailing_back_to_boxwalls.jpg|frame|center|... | [[Image:Bradnailing_back_to_boxwalls.jpg|frame|center|...briefly remove the pegboard backer, apply glue to the box-edges, re-place the pegboard backer, and brad-nail the back onto the frame.]] | ||
<br> | <br> | ||
| Line 75: | Line 75: | ||
<br> | <br> | ||
==Acoustic Damping== | |||
Now that we have completed the box structure for our panels, it's time to fill them. I bought pre-cut 2' x 4' fiberglass batts, intended for 2x4 walls (that is, these batts were intended for a 3.5" thick wall). In this application, these batts pretty nicely fill the box, without compressing the fiberglass, or having the front face of the finished panel look "overstuffed". | |||
<br> | |||
[[Image:Insulation_in_box.jpg|frame|center|Gently tuck your pre-formed 2' x 4' x 3.5" thick fiberglass batt into the frame]] | |||
<br> | |||
[[Image:Polyester_batting.jpg|frame|center|Cut your polyester batting oversize, so you can tuck it down on each side. I bougth a large roll of this stuff - it was about 1" thick, but compresses very easily. It's acoustically transparent, and serves only to keep glass fibers from escaping.]] | |||
<br> | |||
Now, cut your final burlap cover at least 8" oversize on each side. Set it in place, then turn the whole panel upside-down (so the burlap is on the ground, and the pegboard backer is facing up). Working progressively from the center of each box-wall down towards the corners, tuck-and-staple the burlap to the back of your panel. Try to make sure the staples hit "meat" - that is, make sure they get into the edge of the 1x4 walls of the box, so they hold firmly. As you proceed to staple the burlap, snug the burlap '''very gently''' - don't pull hard, and don't stretch it as you go... you really just want to make sure there are no loose, saggy parts on the front of the finished panel, that's all. | |||
<br> | |||
For a final touch, you can add metal corners to the panels, especially if you think they may get moved around a lot. | |||
Revision as of 18:58, 10 June 2010
Background
The idea here is to construct 2'x4' panels, which reduce sound reflections. Whether in a classroom, your home-theater, or an office environment, these can improve intelligibility and imaging of the sound-source(s). These panels are designed to be hung on a wall, verticall or horizontally.
Do you need these panels? Perform a simple clap-test: stand in your room, and clap your hands... if it sounds like you're in a tiled bathroom, then you need these panels ;-)
These panels cost ~$100 (Canadian) to construct, with Most materials coming from Home Depot (the polyester batting and burlap final wrap came from a fabric store).
Benefits
- Drastically lowers the ambient room noise
- Reduce reflections to improve soundstage and stereo imaging
- Reduce slap echoes
Construction Overview
We're going to build a box, 3.5" deep, with pegboard backing. We'll put fiberglass insulation into this box, then cover that with polyester batting (to keep the itchy glass fibers from escaping), and finally wrap it all with dyed burlap (to suit your decor).
Although I built 16 of these, I would suggest that 4 is a minimum to consider, for a 10'x10' room.
The 2'x4' pegboard was purchased pre-cut, but the remainder of the wood was processed in my basement workshop - when you plan your wood-handling, remember that you'll require 8' of in-feed clearance, and another 8' of outfeed-clearance.
Construction
Hangers
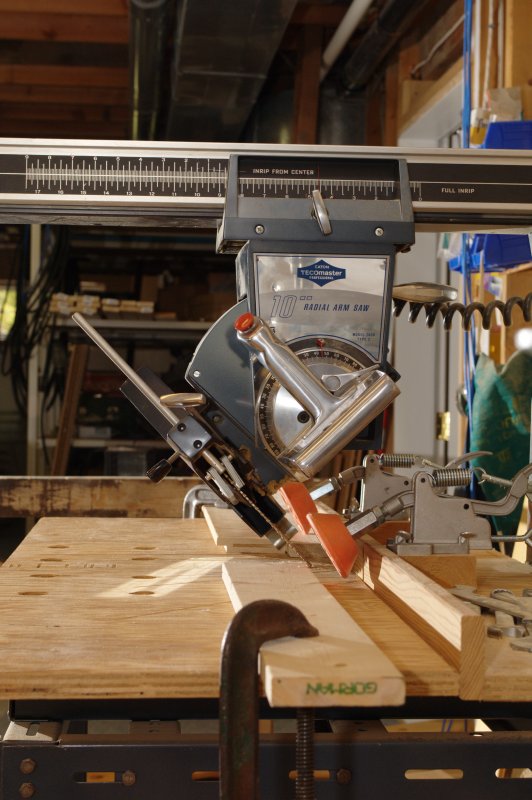
These are simple lengths of wood, with a 45-degree bevelled cut on one side. The plan is to attach a similar piece of wood to your wall, and hang the panels with no fuss.
Cut the hangers:
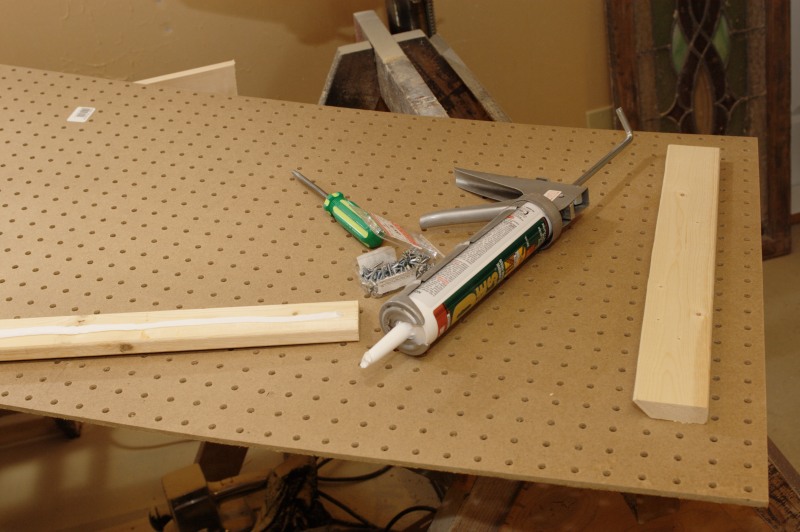
Attach the hangers by applying glue, and screwing from what will be the inside of the pegboard. Use a jig or gauge (another board, maybe?), or measure carefully, to ensure the hangers are parallel to the edge of the pegboard. My pegboard had a smooth face (faced outward, where the hangers are attached), and a furry-face (inside, where the fiberglass goes):
Box
These are the basic steps to making the box:
- cut the 1x4 wood to-length
- join the 1x4 lengths to make a box
- attach the pegboard back
Cut Wood
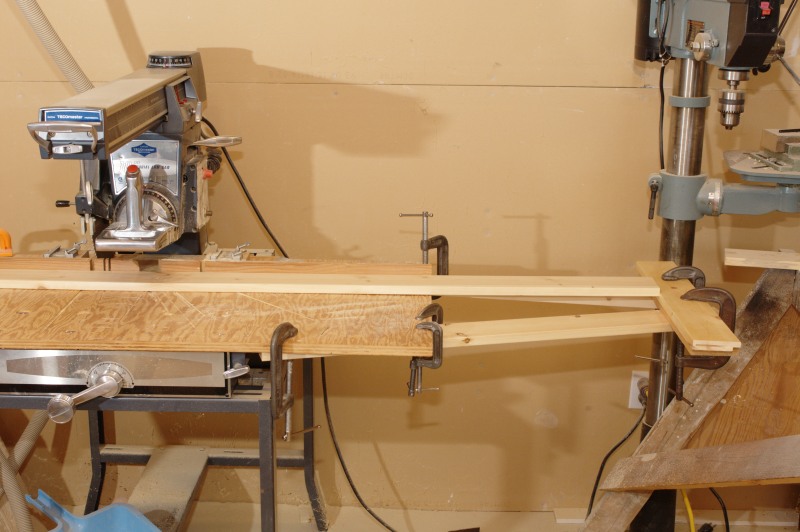
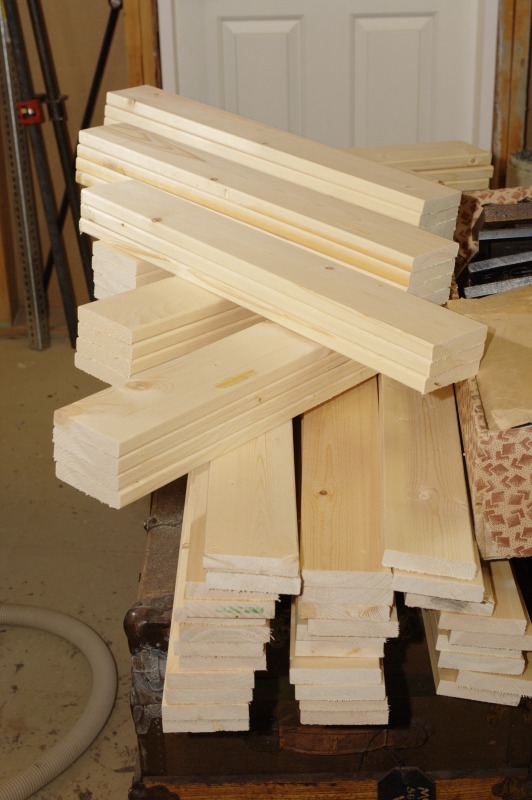
Because I am cheap :-) cutting the wood took a moment of thought: how to make a box that fits onto the pre-cut 2' x 4' pegboard, from 8' lengths of 1x4? These cuts work, if we assemble the wood so that one face overlaps one end, all the way around (sort of like a dog chasing it's tail):
Cut end-board to 23-3/4" long (2 per sound-panel)
Cut side-boards to 47-3/4" long (again, 2 per sound-panel)
Join Wood
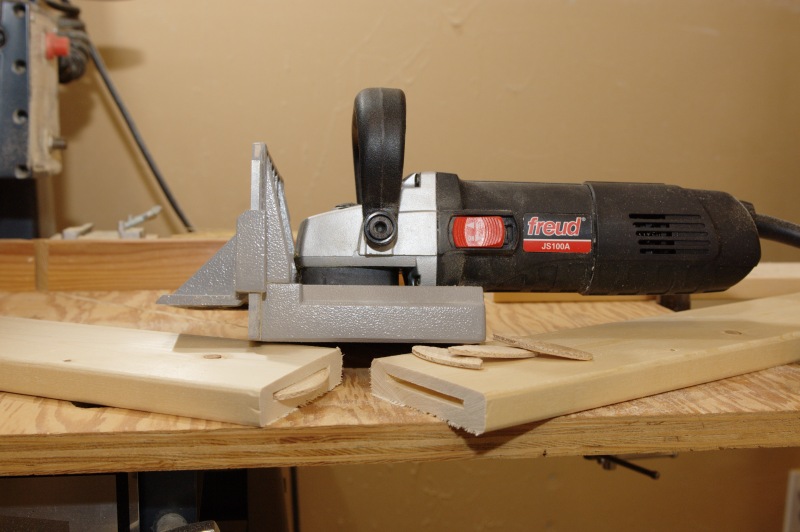
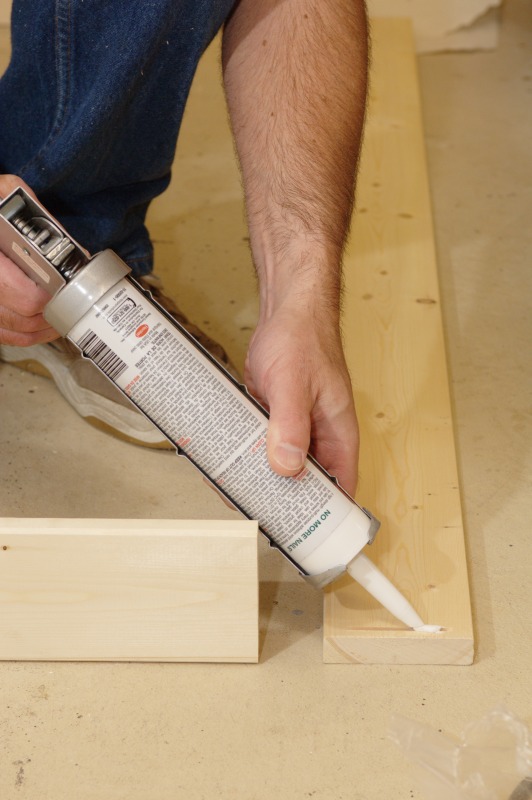
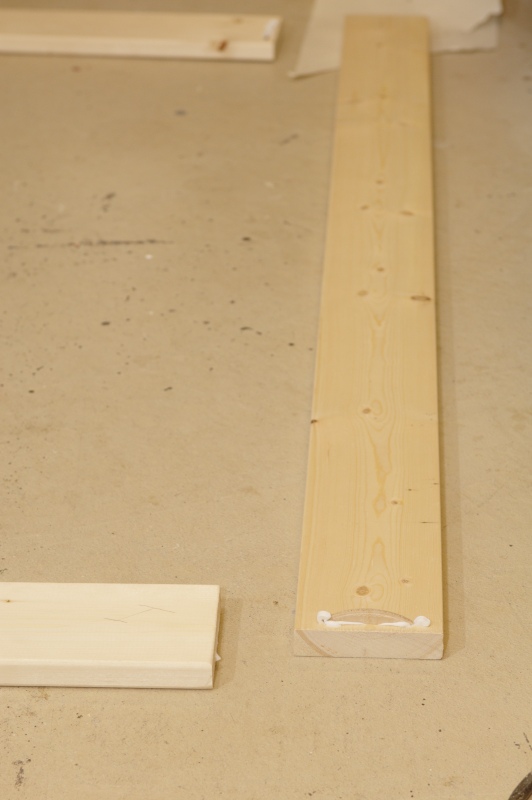
You could use screws, you could use a Kreg jig, you could probably use blocking inside the corners of your boxes, but I chose to use biscuits and a biscuit-joiner for each corner. To do this:
- use your biscuit-joiner to make a pocket in one end (one end only!!!) of every long (side) board, and every short (end) board. This is pretty straightforward, because your biscuit-joiner is is intended to slide on the face of a board, and make a pocket on the edge. The face you place up (for the joiner to ride on) will become the inside face when you assemble the box. The exact depth of your joiner really doesn't matter, except that it remain the same depth for the next step. You should probably mark which face has now become the inside, so you corners will be nice and flush.
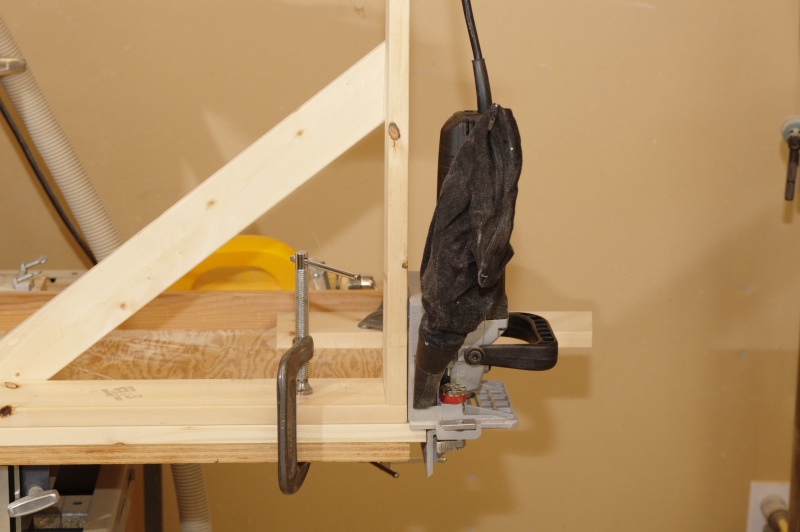
- build a right-angle jig, so you can hold each board vertically, and use your biscuit-joiner to make a pocket in the inside face (you did mark this inside face, in the previous step, didn't you?!?!). Make this inside-face pocket at the opposite end from your first pocket
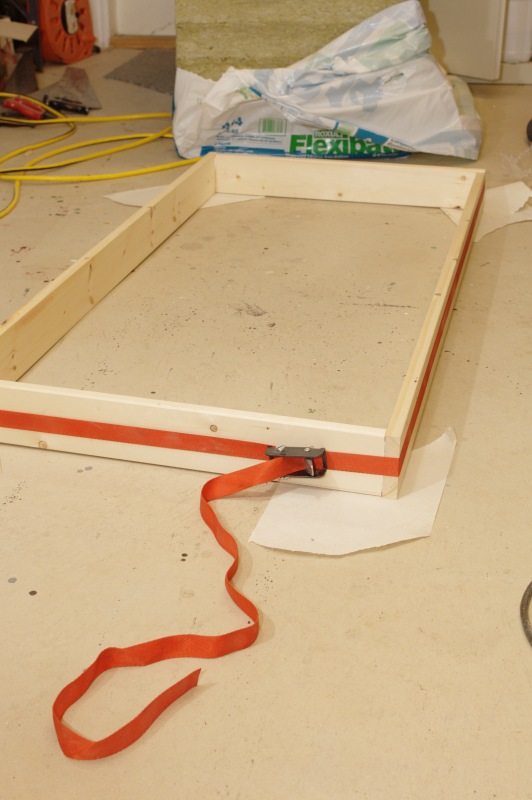
You should use a really flat section of floor for this, otherwise your finished panel may have some twist to it :-O.
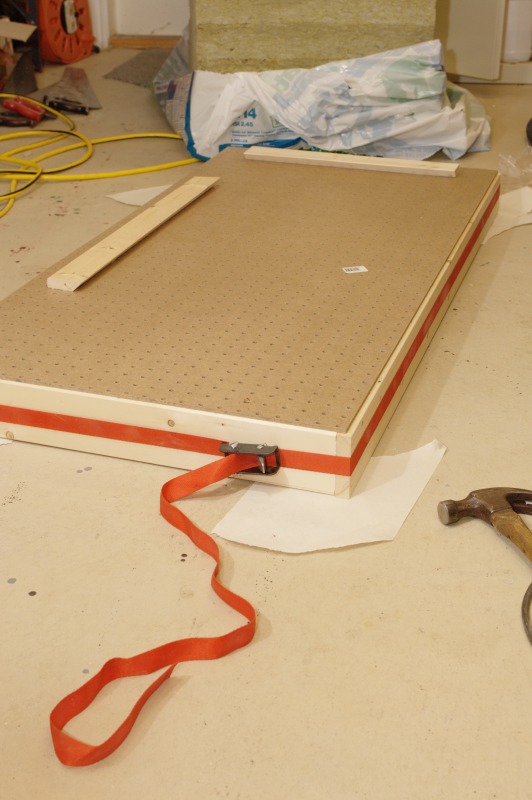
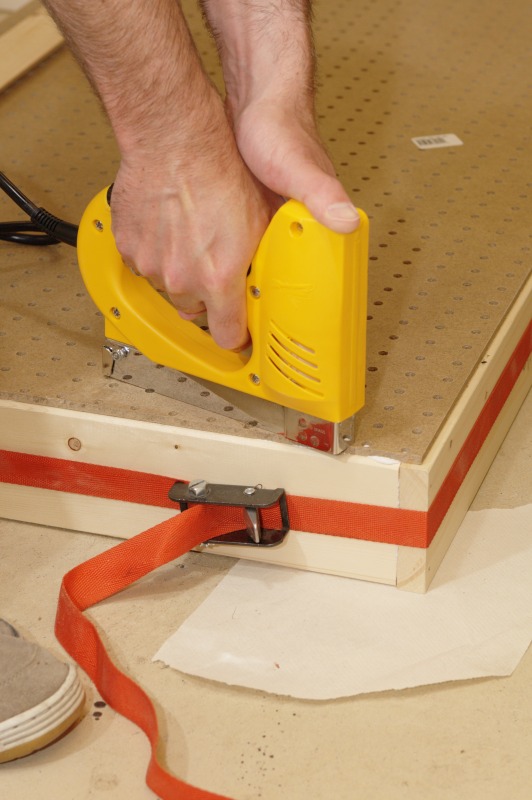
At this point, set the box + back aside, and allow the glue to dry at least overnight. Congratulations - you've finished the wood work!
Acoustic Damping
Now that we have completed the box structure for our panels, it's time to fill them. I bought pre-cut 2' x 4' fiberglass batts, intended for 2x4 walls (that is, these batts were intended for a 3.5" thick wall). In this application, these batts pretty nicely fill the box, without compressing the fiberglass, or having the front face of the finished panel look "overstuffed".
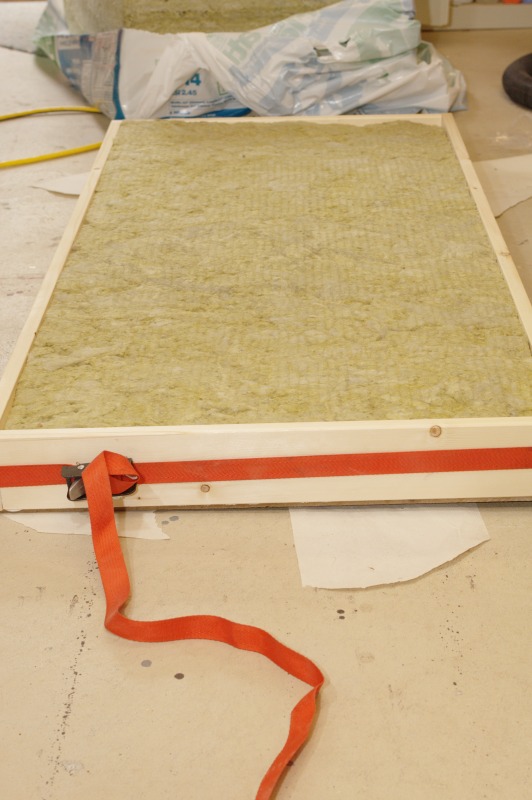
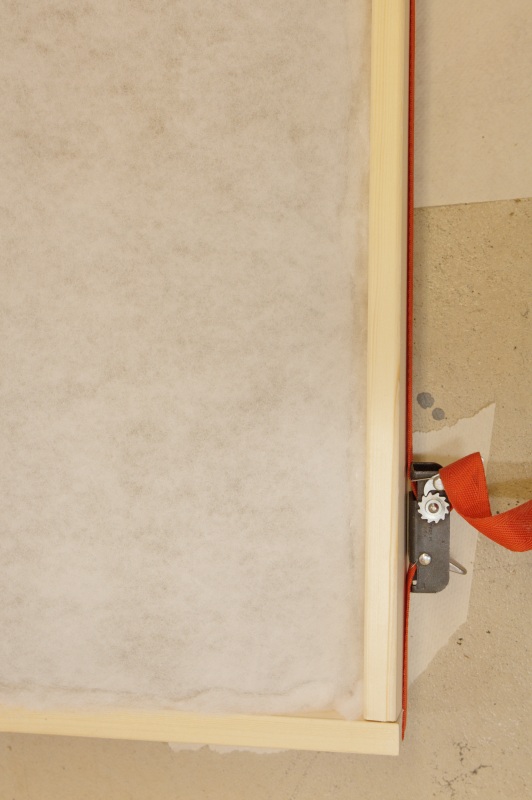
Now, cut your final burlap cover at least 8" oversize on each side. Set it in place, then turn the whole panel upside-down (so the burlap is on the ground, and the pegboard backer is facing up). Working progressively from the center of each box-wall down towards the corners, tuck-and-staple the burlap to the back of your panel. Try to make sure the staples hit "meat" - that is, make sure they get into the edge of the 1x4 walls of the box, so they hold firmly. As you proceed to staple the burlap, snug the burlap very gently - don't pull hard, and don't stretch it as you go... you really just want to make sure there are no loose, saggy parts on the front of the finished panel, that's all.
For a final touch, you can add metal corners to the panels, especially if you think they may get moved around a lot.